Cooking with Kids: Fried Bannock Recipe
As part of our Canada unit study, we prepared the fried bannock recipe found in Cooking Class Global Feast: 44 Recipes That Celebrate the World’s Culture. It was our family’s first time trying bannock bread, and we all agreed it was delicious!
We opted to fry it in a skillet, but I’m excited to try cooking it over a campfire this summer. The kids enjoyed kneading and shaping the dough, and we were all amazed at how quickly the bread just “poofs” up during the cooking process. Gotta love baking powder! Trust me, it’s a really cool recipe to make with kids!
Fried Bannock Bread
Disclosure: This post contains affiliate links at no cost to you. This means I may receive a small commission if you make a purchase using these links.
Cooking Class Global Feast
As part of the Global Explorers Club, we’re using the cookbook Cooking Class Global Feast!: 44 Recipes That Celebrate the World’s Cultures to help us explore food from around the world.
Check it out >

Tools you’ll need for the fried bannock recipe
Just a few ingredients
Tips for Making the Fried Bannock Recipe
- When working alongside children in the kitchen, it’s always a good idea to measure all the ingredients beforehand.
- If you have multiple children who will be cooking alongside you, take turns when making the dough and then split the dough evenly among your kids.
- If you opt to make the fried bannock recipe, be aware it will involve very, very HOT cooking oil. Once the kids cut their dough into fist-sized pieces, I placed the bannock into the frying pan to avoid any splatters. The kids observed how the dough rose during the cooking process from a safe distance the first time we prepared this recipe.
- To make this recipe more child-friendly, you may choose to bake the bannock bread instead.
What is Fried Bannock?
Fried bannock is a type of bread made using a combination of flour, water, and some type of lard, fat, or oil. According to the Canadian Encyclopedia, “Bannock is a form of bread that served as a staple in the diets of early settlers and fur traders. Most Indigenous nations in North America have some version of bannock. Inuit call it palauga, Mi’kmaq luskinikn, and Ojibwe ba‘wezhiganag.”
Learn more about the history of bannock below:
Learn more about
Bannock Bread and Fry Bread
How Long Do You Fry Bannock?
You’ll want to fry the bannock bread until it’s golden brown on both sides.
The first time we prepared the recipe we fried it a little too long and it turned more brown on some sides than golden brown. No worries though because it still tasted yummy!
The second time we followed the fried bannock recipe it went more smoothly, and we were able to achieve a nice golden brown color on all sides.
How to Make Fried Bannock Recipe
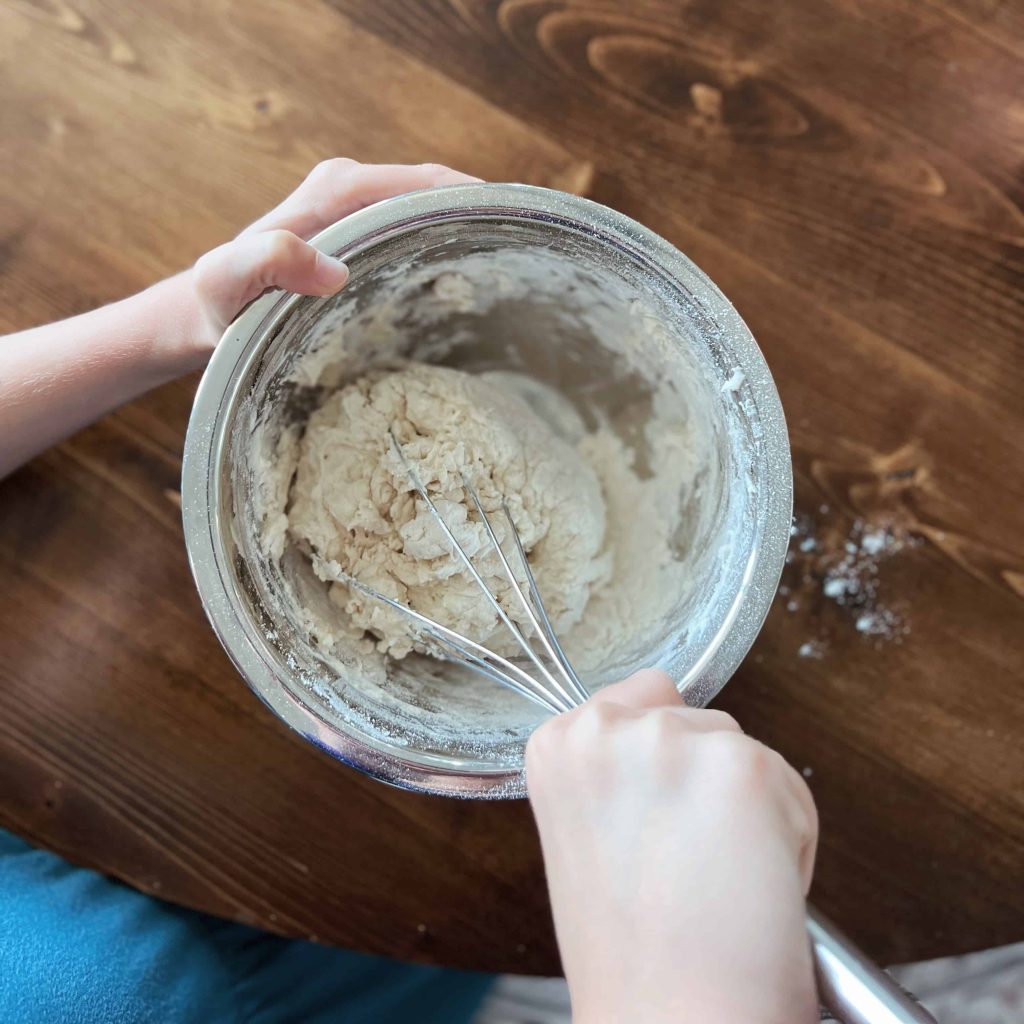
Step 1: Mix the flour, baking powder, and salt together in a mixing bowl. Then add warm water.

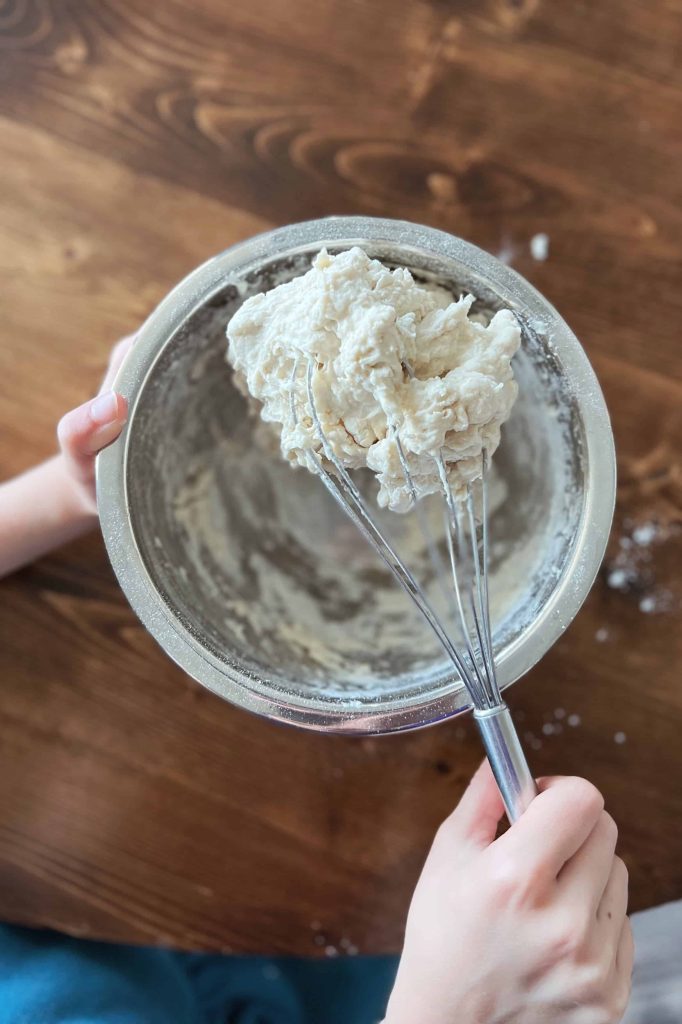
Step 2: Stir the ingredients together until the dough begins to form a ball. We opted to use a large whisk, and it was very easy to see when the dough became more ball-like.
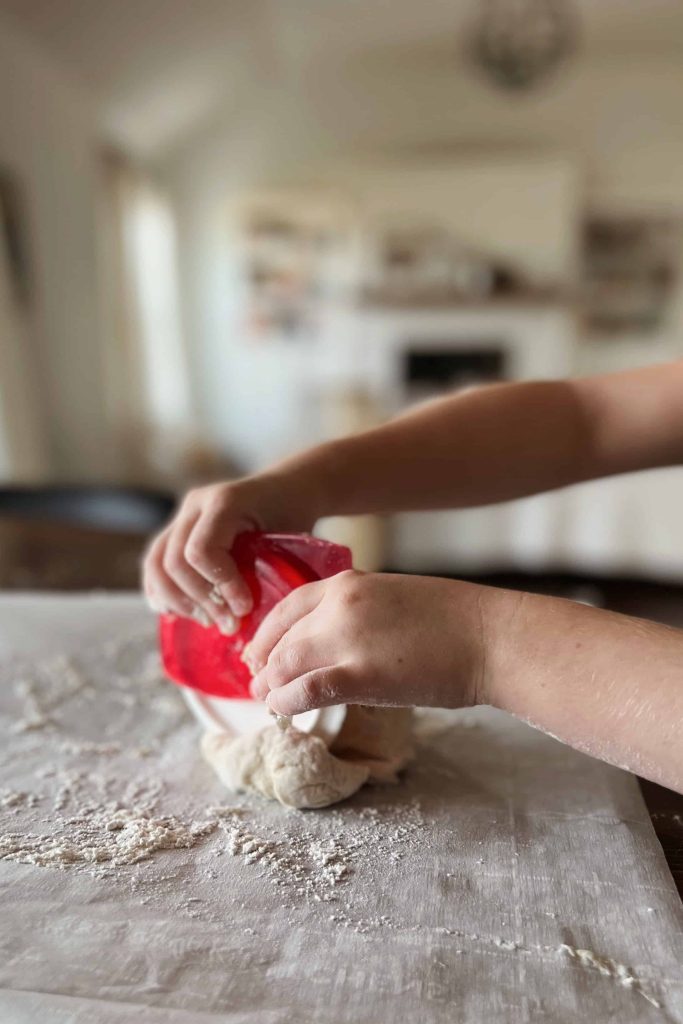
Step 3: Split the dough evenly among your children on a lightly floured surface. We used parchment paper, but a silicone pastry mat would also work.

Step 4: Children may begin to knead the dough into an oval-shaped loaf. This step was a lot of fun for my kids. The dough provides a great sensory experience!


Step 5: Cut the dough into fist-sized pieces.
Step 6: At this point I placed the fist-sized pieces of dough into a large skillet filled with 1/4-inch vegetable oil over medium-high heat. Fry the bannock bread until golden brown on each side.
Note: Since this step involves hot oil, please use caution. You know your child best. I recommend allowing younger children to observe the cooking process from a safe distance. Older children who have more experience may complete this step under supervision. Use tongs to carefully turn the bannock bread while it’s cooking.
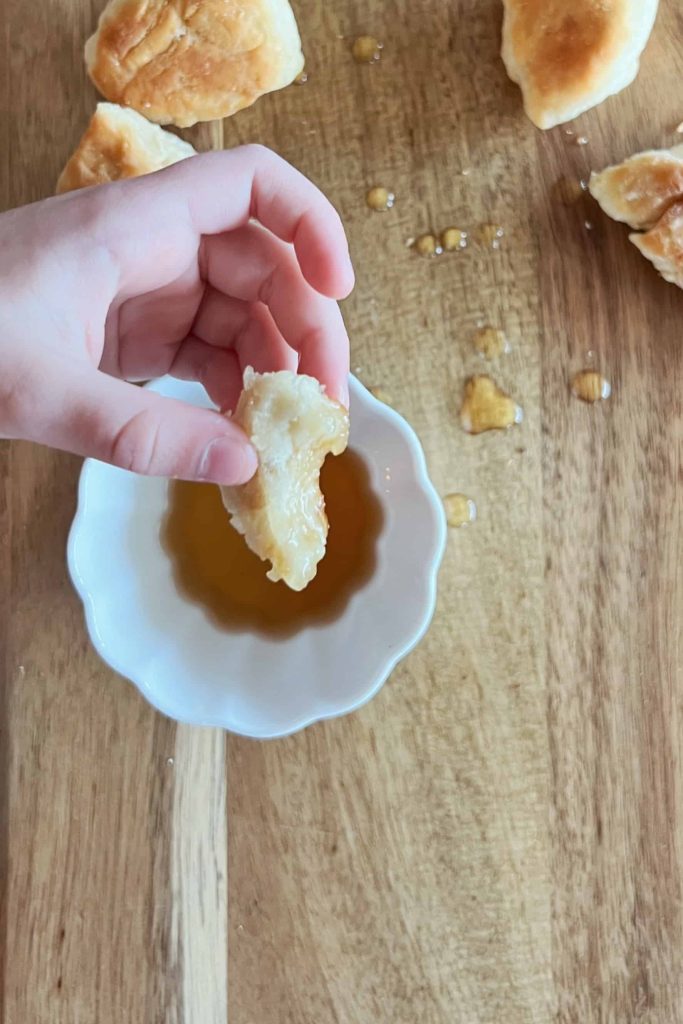
Step 7: Once the fried bannock is golden brown on both sides, remove to a plate. Serve alongside maple syrup and/or butter. Of course, I highly recommend using 100% maple syrup, a popular Canadian export. Did you know up to 75% of the world’s maple syrup comes from Canada?

The kids enjoyed dipping the fried bannock into the maple syrup. The fried bannock bread’s absolutely delicious served warm and makes for a cozy wintertime treat.
You can find the complete fried bannock recipe in Cooking Class Global Feast: 44 Recipes That Celebrate the World’s Cultures. In addition to all the cooking fun your family will enjoy using this cookbook, you’ll also receive the following extras:
If you’ve made this recipe, I’d love to hear your thoughts! Did you fry it, bake it, or cook it over a campfire? Please share your experiences below!
discover the world
Canada Unit Study
Want to explore more? Our Canada Unit Study includes geography lessons, mapwork & notebooking, living books, hands-on cultural activities, and character connections designed for mixed-age learning.
Check out some of our related posts…
the global explorers club
Where Will You Explore First?
Explore our complete collection of literature-based geography and culture unit studies. From hands-on art projects to global games and recipes, our curriculum makes learning an adventure for all ages.


One Comment
Comments are closed.